PORTRAIT CONVERSION / PRACTICAL GUIDE
How to Make an ASCII Profile Picture
Faces are difficult at small sizes because eyes, nose and mouth compete for only a few character cells. A tight crop and controlled middle tones matter more than extreme density.
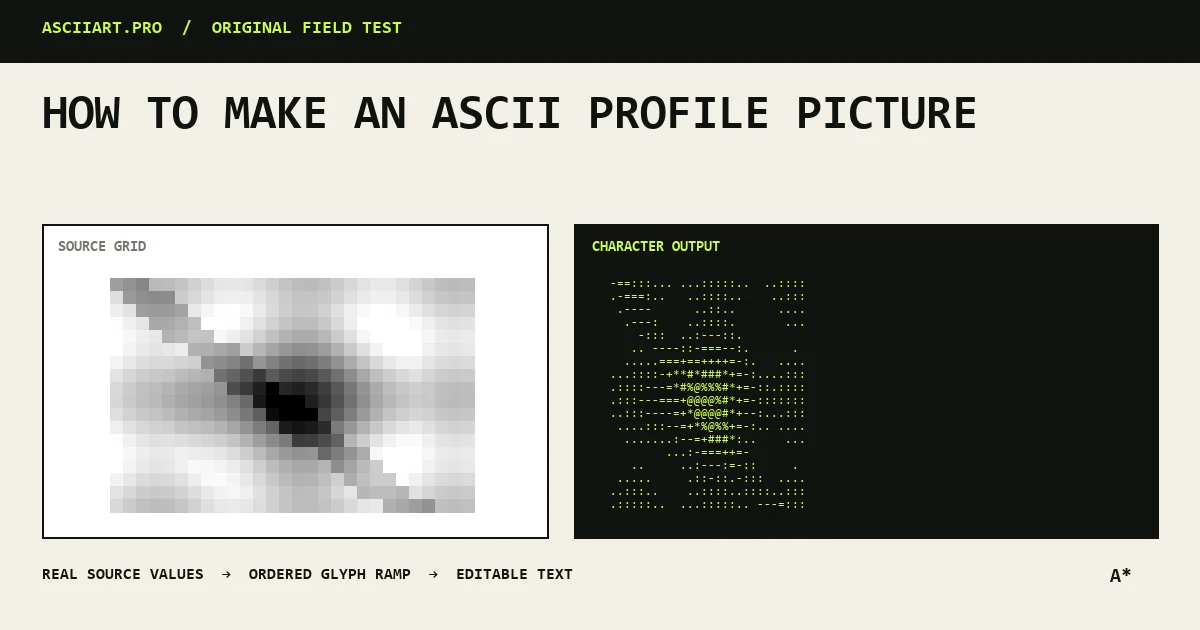
Crop around the face
Use a square or slightly vertical crop with the face occupying most of the frame. Busy backgrounds consume characters without helping recognition.
Side lighting often converts better than flat frontal light because it creates a clear separation between facial planes.
Recover the middle tones
Set brightness first, then use moderate contrast to separate hair, skin and background. Adjust gamma last to reveal eyes and mouth without washing out highlights.
If the face becomes a dark block, reduce contrast before increasing density.
Compare classic and Braille output
Classic ramps produce a clearly text-based portrait and work in more destinations. Braille can preserve eyes and hair detail at a narrower width.
Compare both at the same visual size, not only the same column count.
Export for the profile surface
Most avatar fields accept images, so a square PNG usually renders more consistently than pasted text. Keep a text version for bios, status messages and terminal profiles.
Preview the final image at the tiny size used by the platform; fine detail that looks good at full size may disappear.
Quick answers
Why does my ASCII portrait not look like me?
The crop may be too wide or facial middle tones may be compressed. Crop closer and adjust gamma before adding more columns.
Is Braille better for faces?
It often preserves more compact detail, but classic ASCII is more portable and has a stronger retro look.